Minecraft has been one of the bestselling games of all time. It’s not only addictive, but it’s also easy to play. How could you say no to an interesting world of mining, digital zombies, and agriculture? Minecraft was first released in 2009, and both PC and console versions have been available since then.
However, since then, the world of Minecraft has expanded significantly, and the game has had a couple of exciting add-ons in the last 15 years. If you want to learn more about these modes, we have created this short guide to teach you how to install modes on desktop, Xbox, and PlayStation.
What are Minecraft modes?
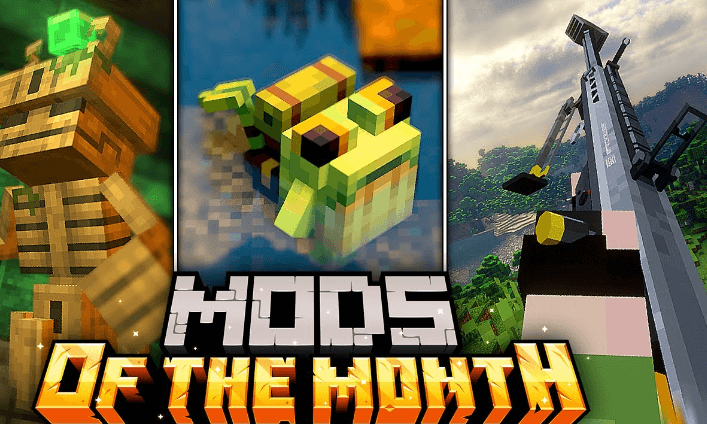
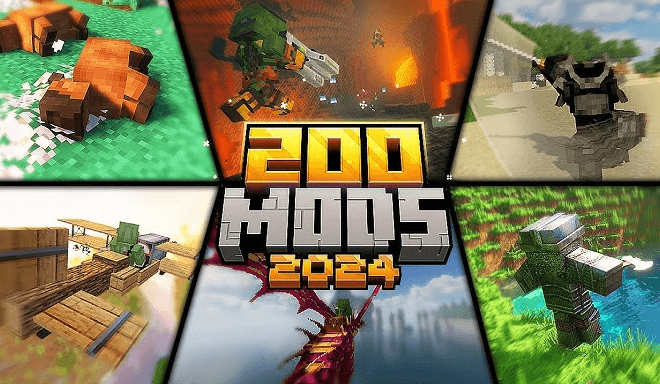
Essentially, Minecraft modes are modifications to an original game. For example, these modifications can be new blocks, items, interface changes, resource packs, and overall quality-of-life improvements for players.
The best thing about these modes is that you can change almost anything and adjust them to your liking. This will make the whole Minecraft experience personalized and unique. It’s important to mention that you need to download and install each mode on both client and server to work correctly.
How to get Minecraft mods on Windows?
There are several ways to get your modes running with Minecraft, but the easiest and the most popular method is through an app, Forge.
Step one: Go to the official Forge website and download the latest version of the software.
Step two: It is important to download the modes from a reliable source. You can find hundreds of great modes at CurseForge, but remember that not all modes are compatible with all versions of Minecraft. You need to find a mode that’s compatible with your software.
Step three: In a Minecraft directory, create a mods folder under the name .minecraft directory. If this is your first mode, you need to create a folder within the .minecraft folder. Within this folder, right-click within File Explorer, choose a new folder, and name that folder “mods.”
Step four: the modes you have downloaded move into a mods folder.
Step five: before funning modes, make sure your Forge account is active; otherwise, your modes won’t run properly.

How to get mods for Minecraft on Mac?
You can follow steps one and two listed above if you are a Mac user. For step number three, you need to create a “mods” folder in the Minecraft directory, and the targeted address should look something like this: ~/Library/Application Support/Minecraft.
You can also access this folder by clicking the Command + Shift + G keyboard shortcut. Once you go there, right-click within that folder to select New Folder and label it “mods.”
Steps four and five are the same as previously mentioned.
How do you get mods in Minecraft on consoles?
Unfortunately, you can’t install Minecraft mods on PlayStation and Xbox. But the good news is that you have access to add-ons. However, you aren’t free and are heavily restricted compared to PC modes.
To access add-ons, you have to:
Step one: start Minecraft on your console, and in the main menu, select Marketplace.
Step two: select Mash-up Pack, Texture, World, or Skin Pack.
Step three: you can use a credit card or Minecoins to purchase an add-on.
Are Minecraft modes free?
Most Minecraft mods are free. If you are CurseForge, you can choose from 100,000 mods, most of which are free. However, you will have to pay for the base game, which is, at the moment, $26.95 for the Java edition.
Are mods safe to download?
Generally speaking, they are safe and easy to download. However, make sure you are downloading from a trusted source, among them curseforge.com, 9minecraft.net, planetminecraft.com, and minecraftmods.com.
Before you install modes, create a backup of your server. If something goes wrong with the installation process, you can still load the version of a game that still works.


